

Before you start
- Cortex Agents traces in Snowflake.
- A Snowflake connection for your organization. See Connect Snowflake.
Steps
Create the workspace
Create a workspace and pick the Cortex Agents origin (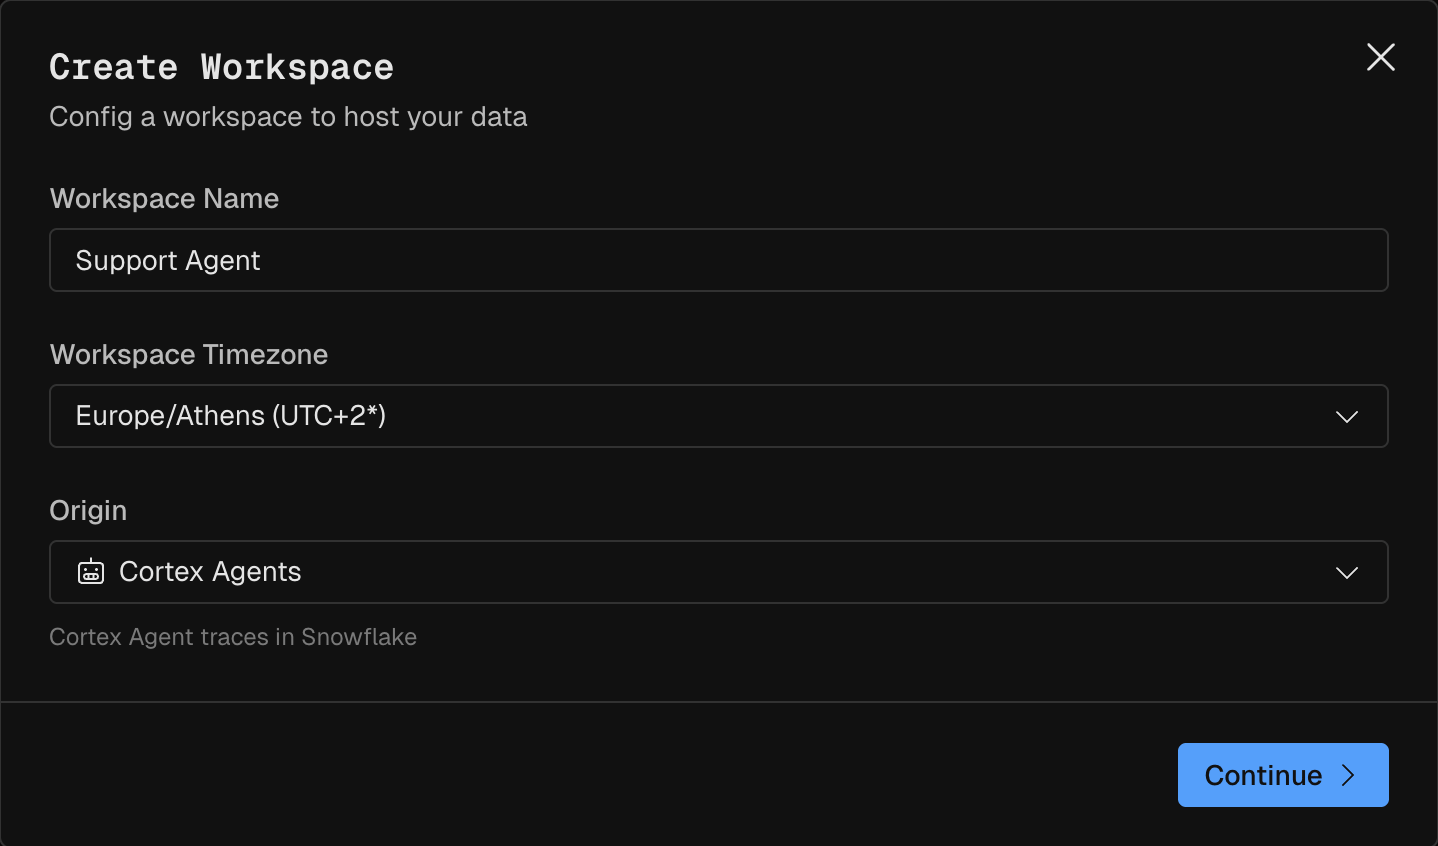
Cortex Agent traces in Snowflake). Pick an Organization connection, or click Create connection. See Set up your organization.Apply the Cortex Agent preset
The workspace opens on the Cortex Agent preset tab in the Modeler. Pick your agent. Check I confirm my reports cover only finished runs. Under Tables to create, check Price table and Evaluator result tables. The Evaluator result tables let the Evaluator run and save its labels. Created in shows where they go, and you can pick another location. Then click Set up Cortex Agent.
Pick where Polaris results go
On the Evaluator page, pick a schema under Evaluator results. Polaris writes its labels and scores there, next to the traces. See Where Polaris results are stored.
To try Kubit before you connect a warehouse, export the traces to a file and upload it to a Sandbox workspace instead. See Upload traces to a Sandbox workspace.
Verify
The workspace activates on the apply that completes it: a warehouse connection, a fact table with an Event and a Timestamp column, and at least one enabled subject. Before that, it showsNo data yet. Finish setting up your model.