

Before you start
- A ClickHouse user that can create users, roles and databases and grant privileges.
- The tables or views Kubit should query.
- A password for the Kubit user. The Kubit team generates a strong one and shares it with you.
Steps
Create a user
In the SQL Console, create a user named
KUBIT. The Kubit team generates and shares a strong password to use here.Create a database
Create a database named
KUBIT_DB. Kubit uses it for small auxiliary tables and views.Grant permissions
Grant Grant
KUBIT_W read and write access to KUBIT_DB so Kubit can create its auxiliary objects.KUBIT_R read-only (SELECT) access to KUBIT_DB and the tables or views Kubit should query.Allow Kubit's IP ranges


Split test and production workloads (optional)
As a best practice, create a second user, roles and service for development. Isolating development from production avoids accidental impact on live workloads.
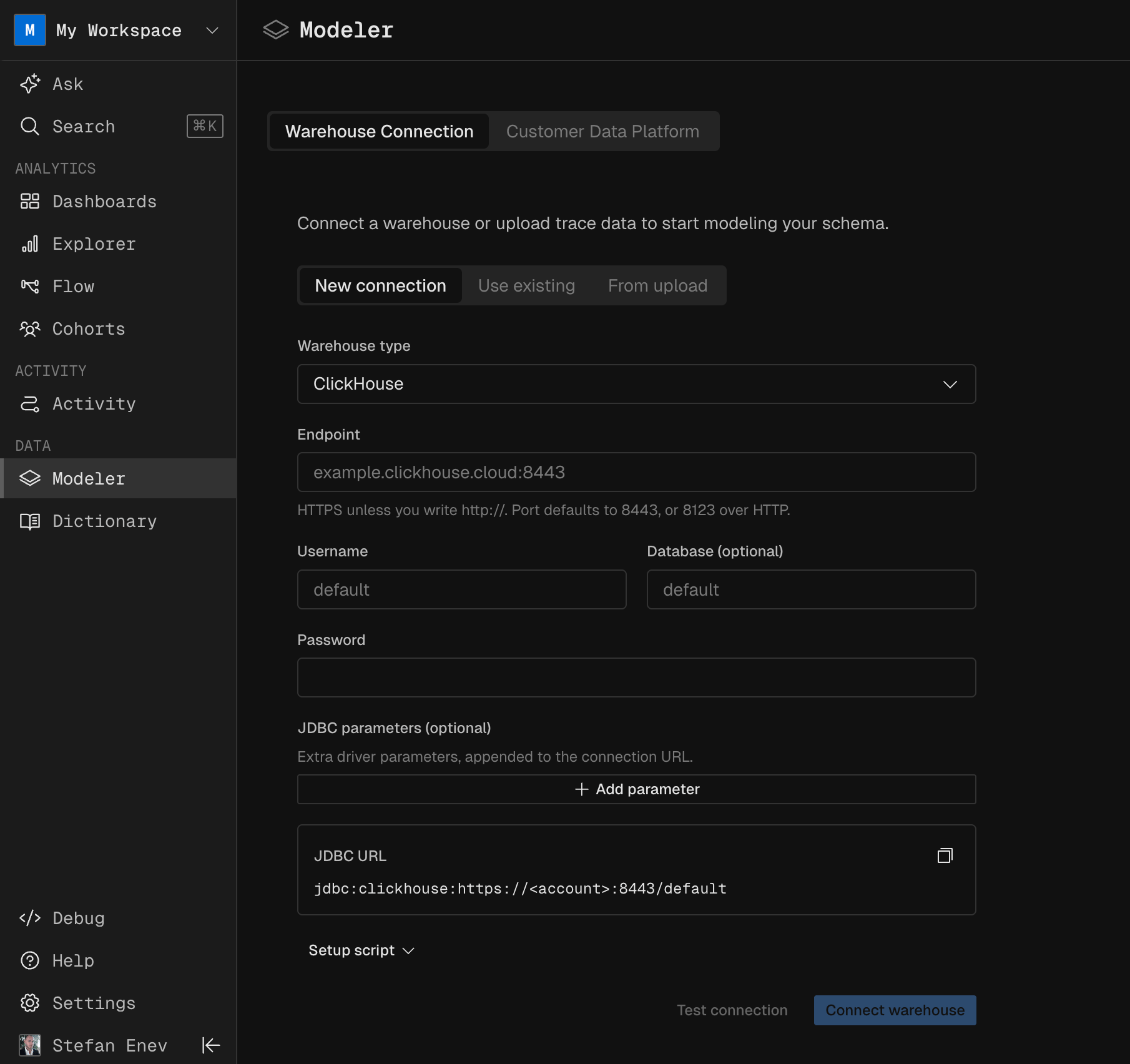
Connection parameters
If it fails
Next steps
- Bring your own warehouse: how Kubit queries your warehouse in place.
- Allow Kubit’s IP ranges: the current ranges and how to keep firewall rules up to date.
- Setup Kubit in the Modeler: map your tables to fact tables, dimensions and subjects once the connection works.